TimelineJS is a resource created by the Knight Lab at Northwestern University in order to develop viewable timeline resources using different media and facts. Using Google sheet entry, users can create their own interactive timeline.
TimelineJS is a resource created by the Knight Lab at Northwestern University in order to develop viewable timeline resources using different media and facts. Using Google sheet entry, users can create their own interactive timeline.
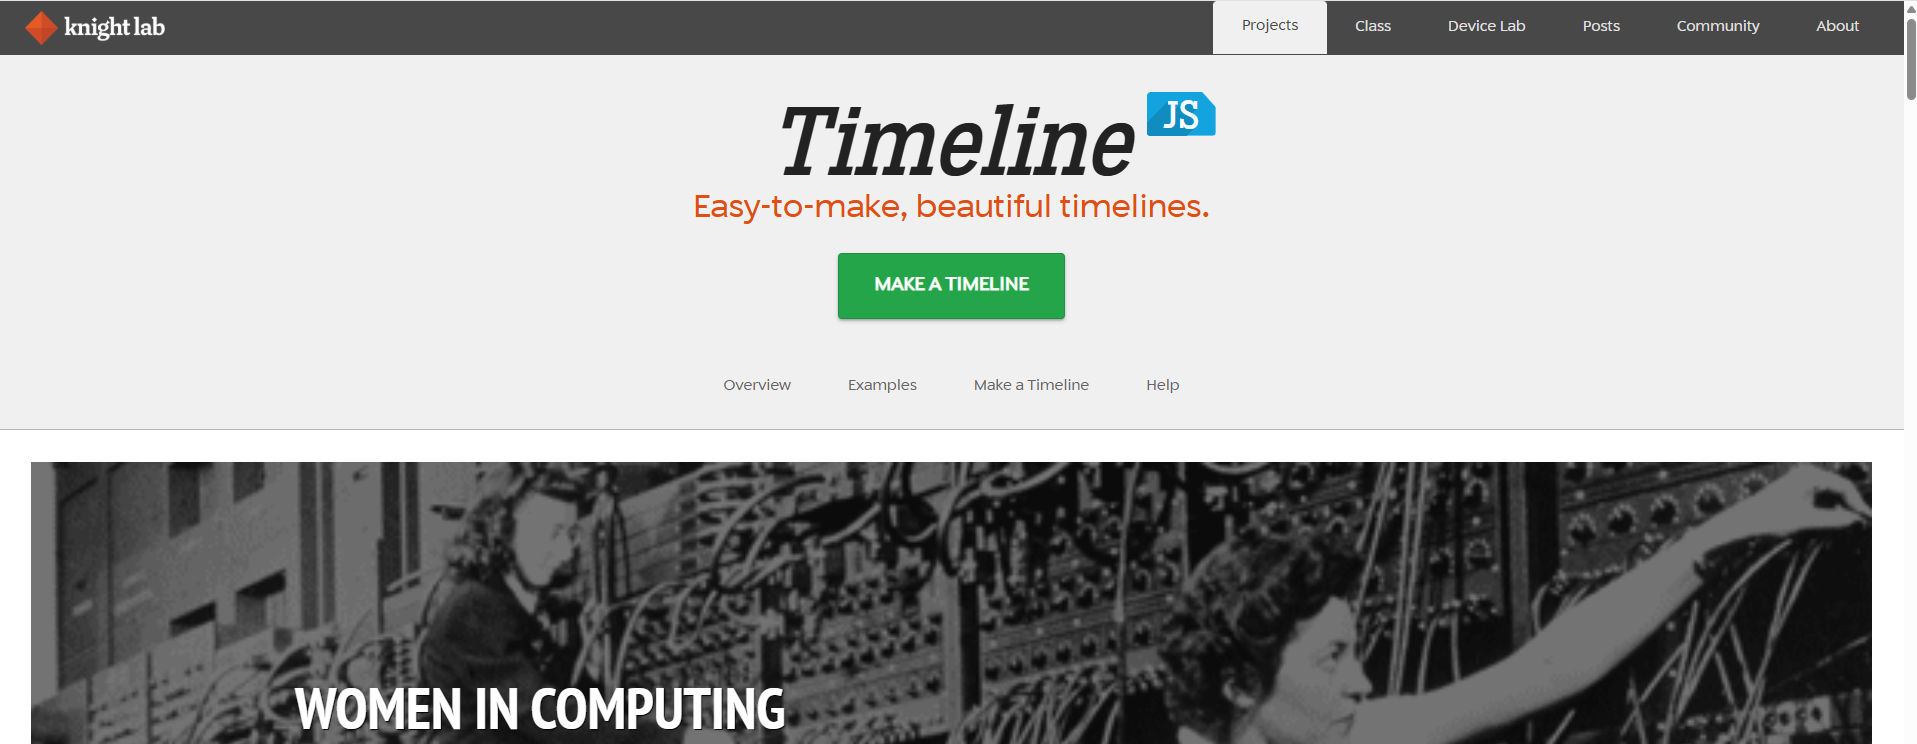
Step 1: Navigate to Knight Lab's timeline site.
Step 2: Download the spreadsheet template.
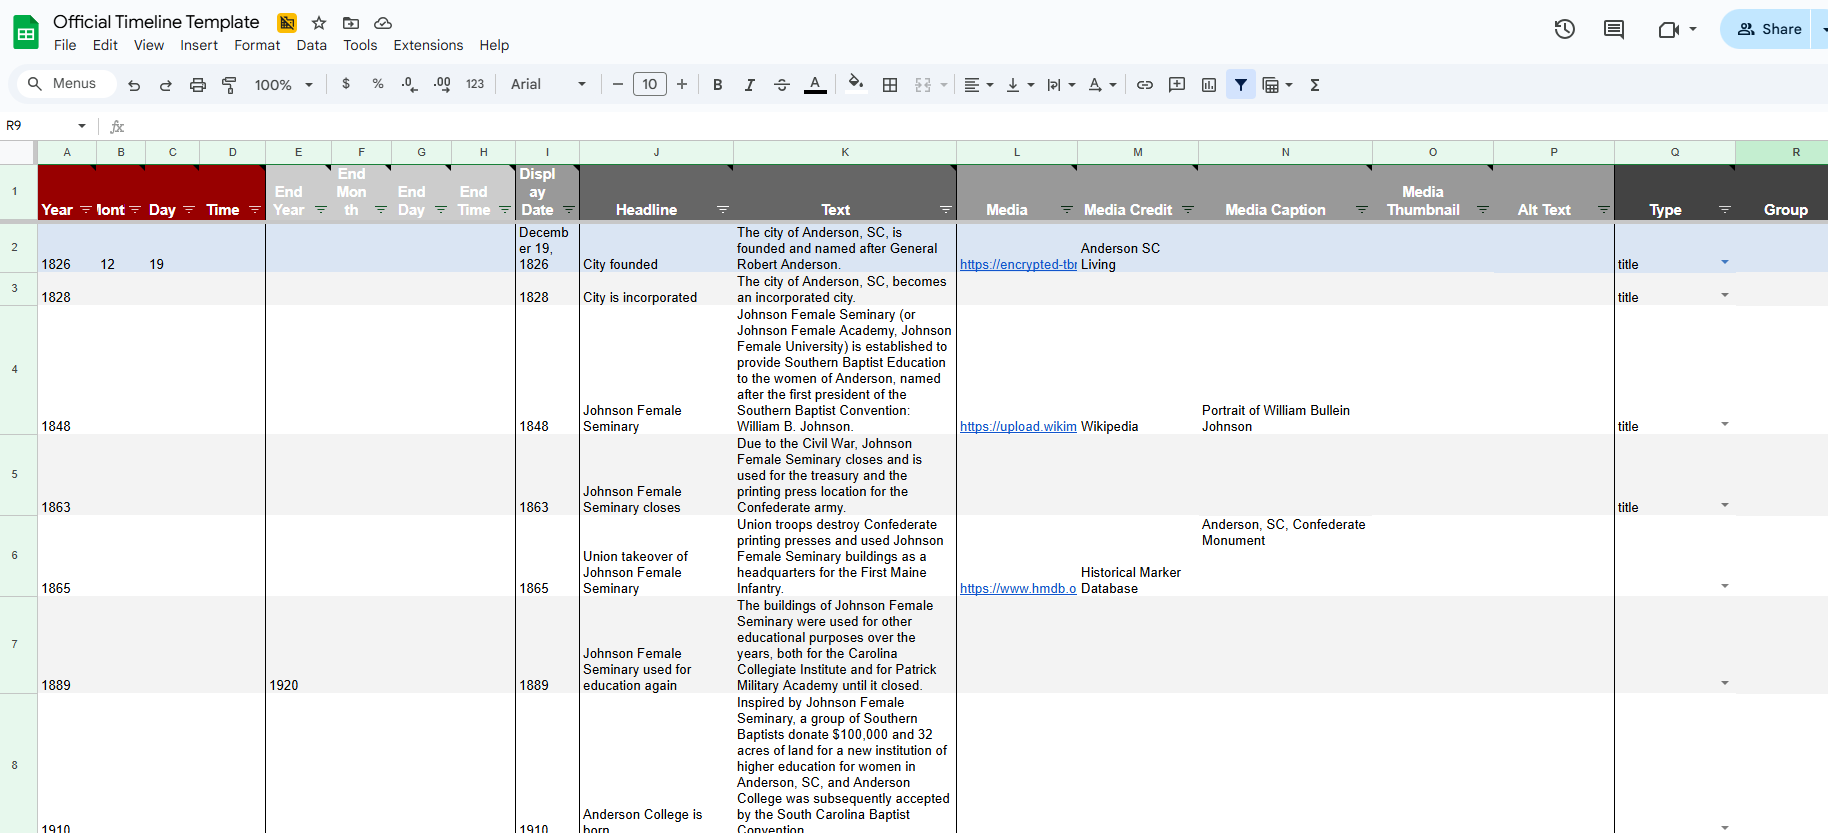
Step 3: Input your timeline's information to the columns of the template.
Step 4: Publish your Google Sheet to the web.
Step 5: Copy the public view link of the sheet.
Step 6: Return to the timeline site.
Step 7: Paste the link to the input box and customize as-needed.
Step 8: Generate timeline.
Step 9: Review to ensure that the resource is functional.
Step 10: Copy embed code or link and share!
In order to get the desired outcome, the following photos are examples of how the input affects the end result.

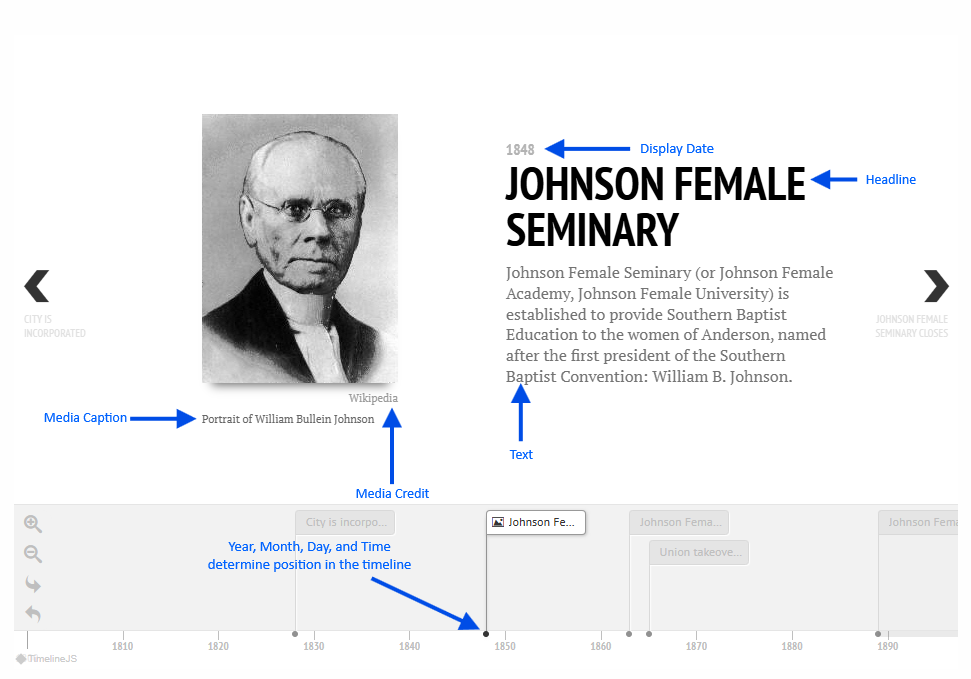
This is an example of a timeline created using Knight Lab's technology, demonstrating a portion of Anderson University's history. An extended version of this timeline is available in the AU Archive research guide on this site.
Knight Lab's site has a FAQ section that answers many of the questions that arise when using the resource.
If you have any questions that the FAQ and Instructional Video are not able to answer for you, please contact the instructor for this project in HIS 182, Dr. Patrick Leech (pleech@andersonuniversity.edu), or Thrift Library's Archival Research Associate, Helen Smith (hsmith@andersonuniversity.edu)
The approved timeline resource for this course and project is Timeline JS by Knight Labs, but if you are considering other avenues of displaying timelines, the following are helpful, free resources and examples used with the AU history:
Video Timeline by Helen Smith on Canva